Tonight's the night , we put the chair together section by section and tested it as we went.
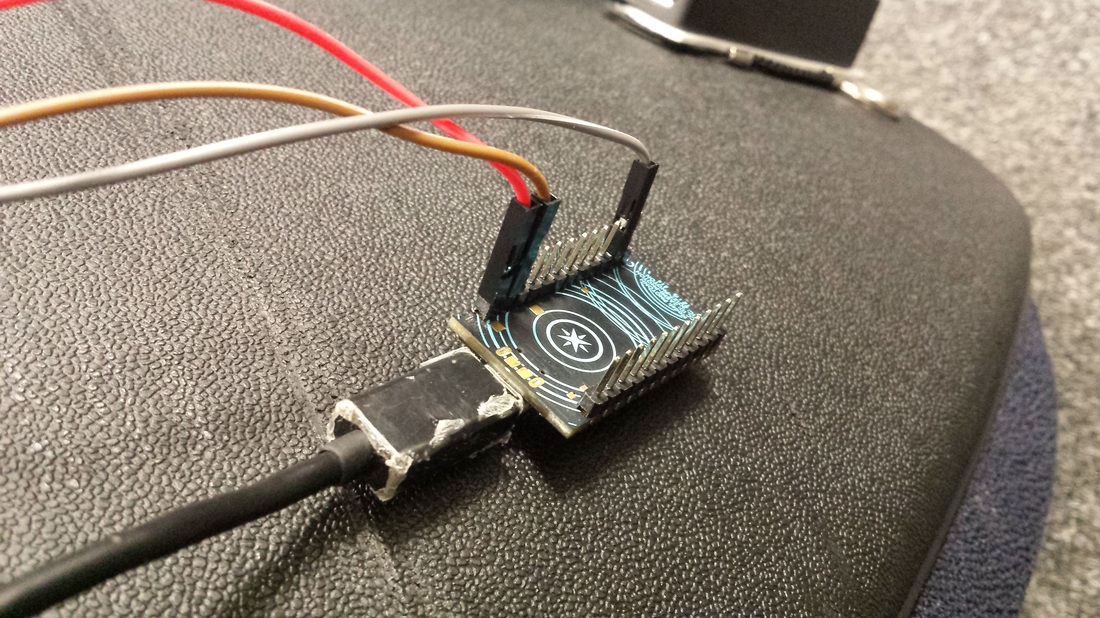
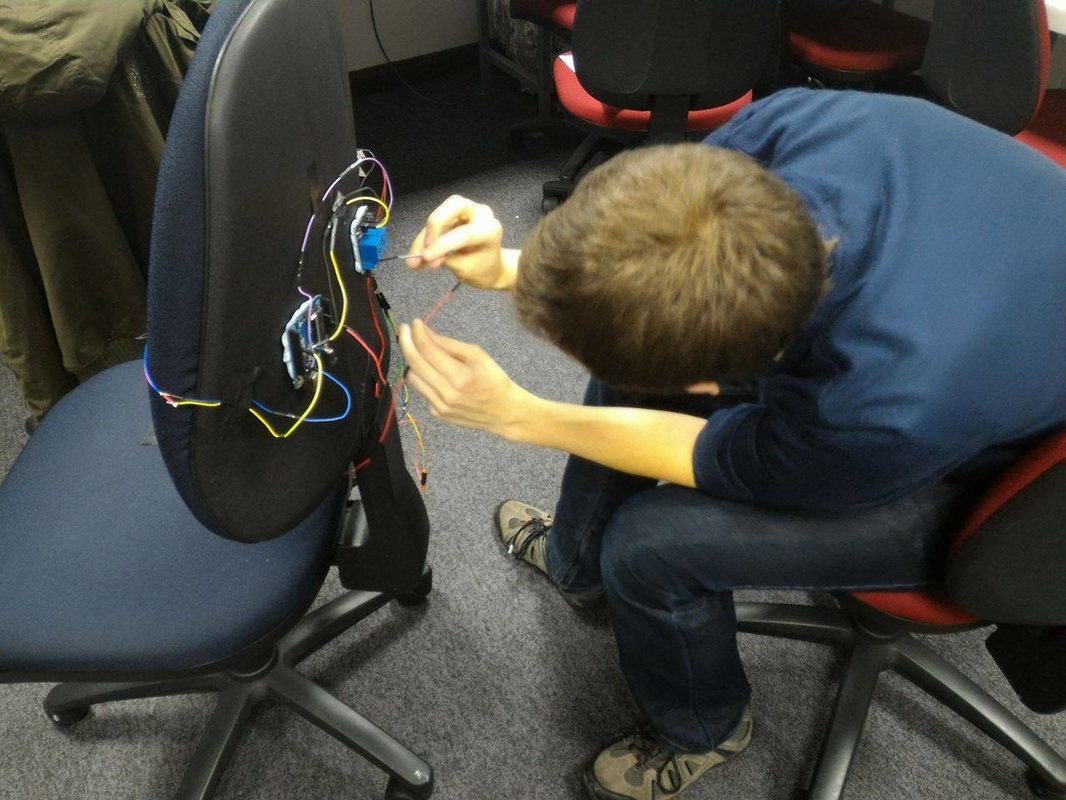
The first thing we had to do was get the soldering iron out and solder the heat pad circuit together so we don't use a bread board.Only problem with this is that the heat pad at very short thin wires so we were concerned that they might be to weak in the circuit but they did hold once solder to some male wires.
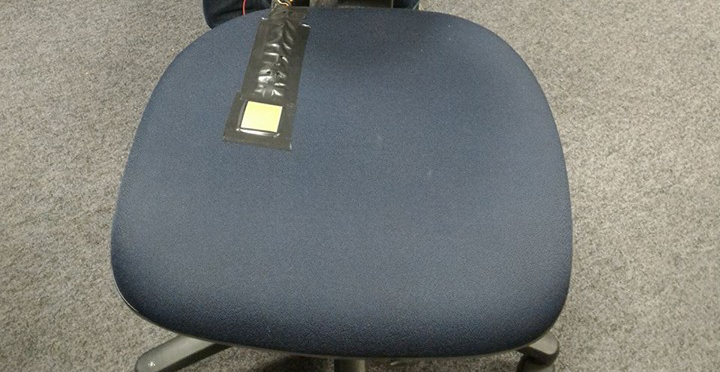
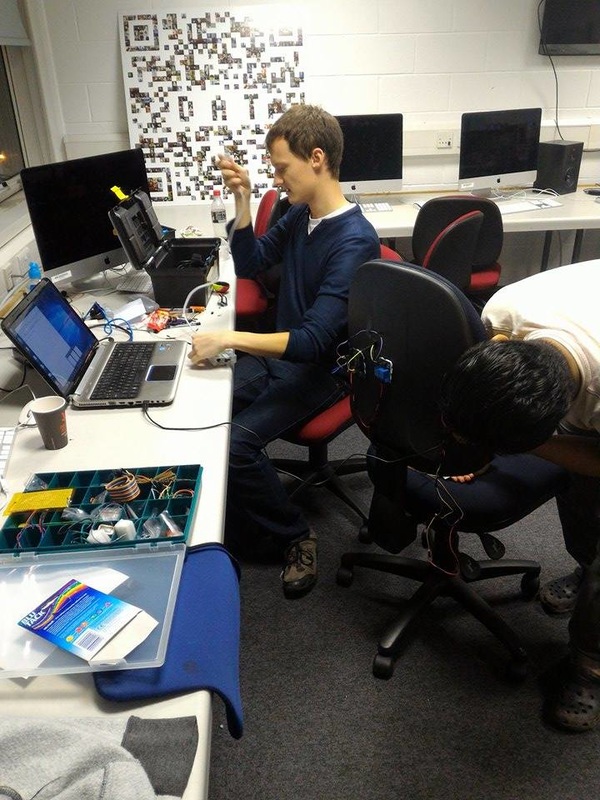
We the proceeded to attach everything to the chair which we borrowed from the DAT labs. We attached the seat detection pressure sensor first, the photon was blue tacked to the back of the chair and the sensors was taped to the seat it self.
The first thing we had to do was get the soldering iron out and solder the heat pad circuit together so we don't use a bread board.Only problem with this is that the heat pad at very short thin wires so we were concerned that they might be to weak in the circuit but they did hold once solder to some male wires.
We the proceeded to attach everything to the chair which we borrowed from the DAT labs. We attached the seat detection pressure sensor first, the photon was blue tacked to the back of the chair and the sensors was taped to the seat it self.
After the sensor was in place we ran a quick test and it still worked which is great, Next we got out the needle and thread and started sowing the vibration motor and heat pad to the rear of the front panel. We picked to sow them on as the electrical tape is not string enough to hold them up.With help of shaune i was help to get the thread through the need and begin to sow. After 20 minitues of cursing because the needle kept going into my fingure the sowing was down and the chair started to take form.
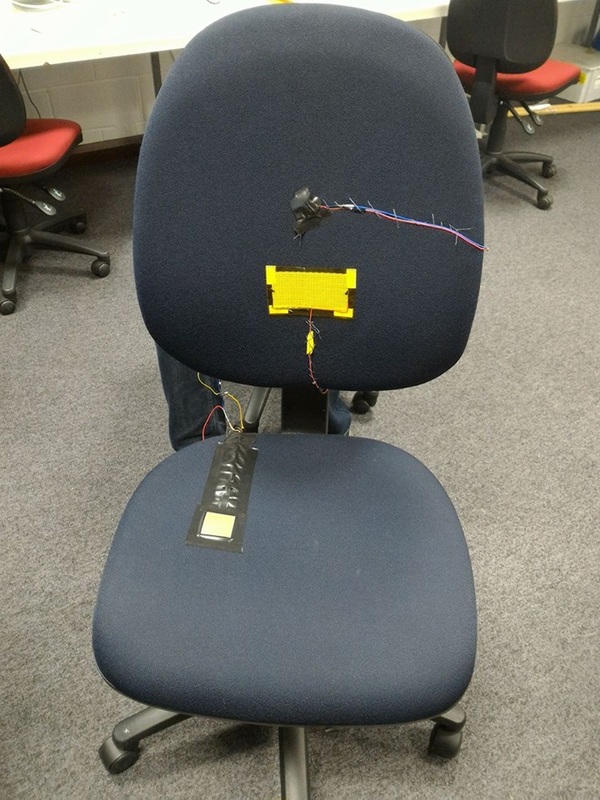
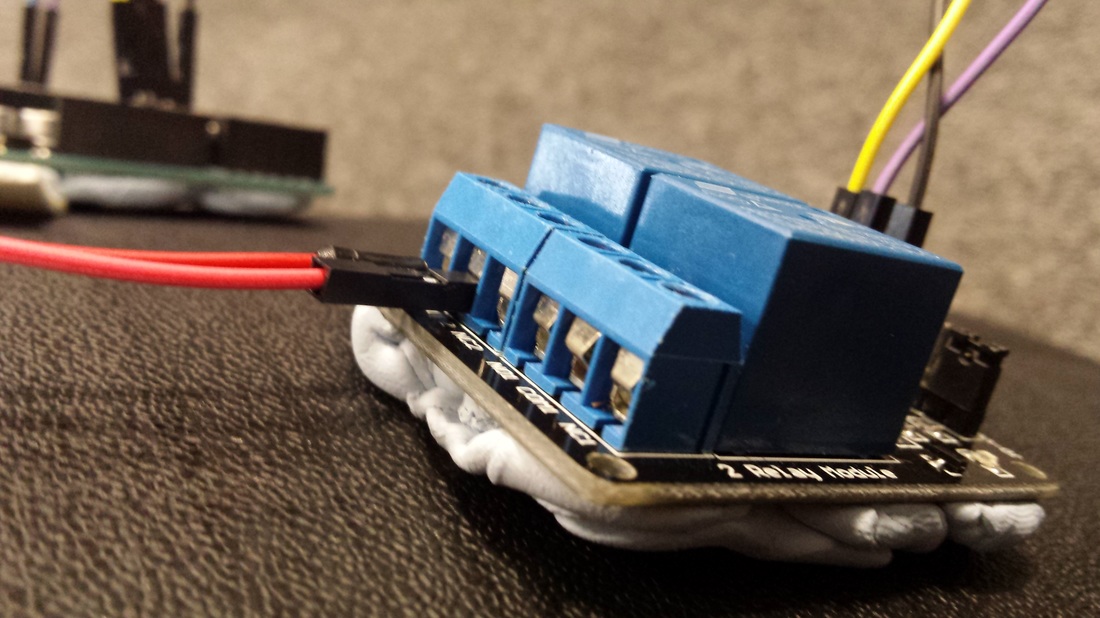
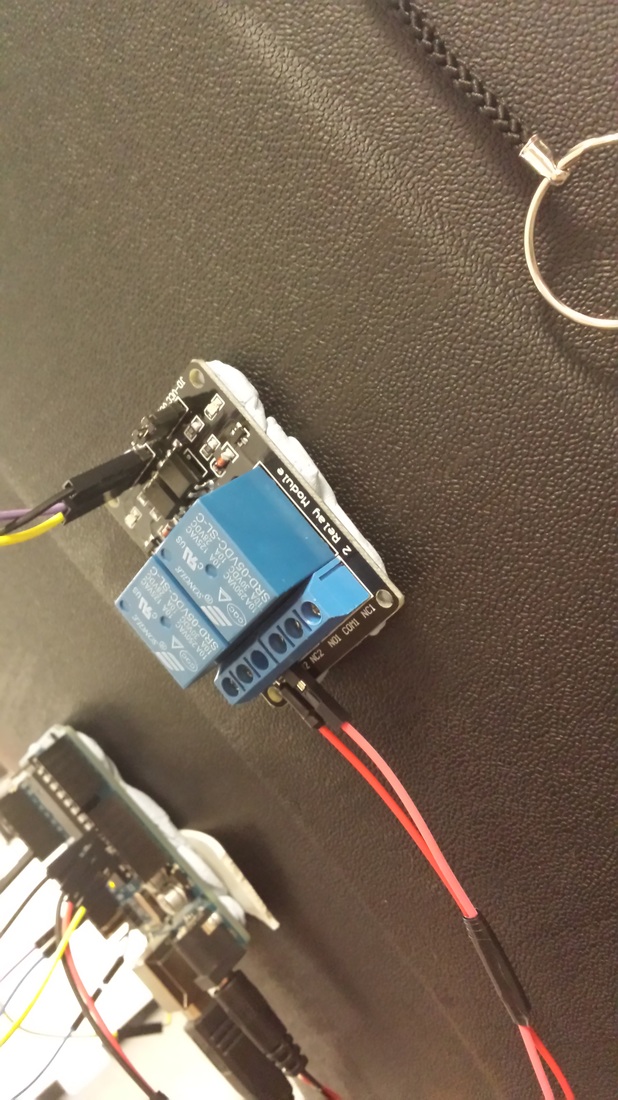
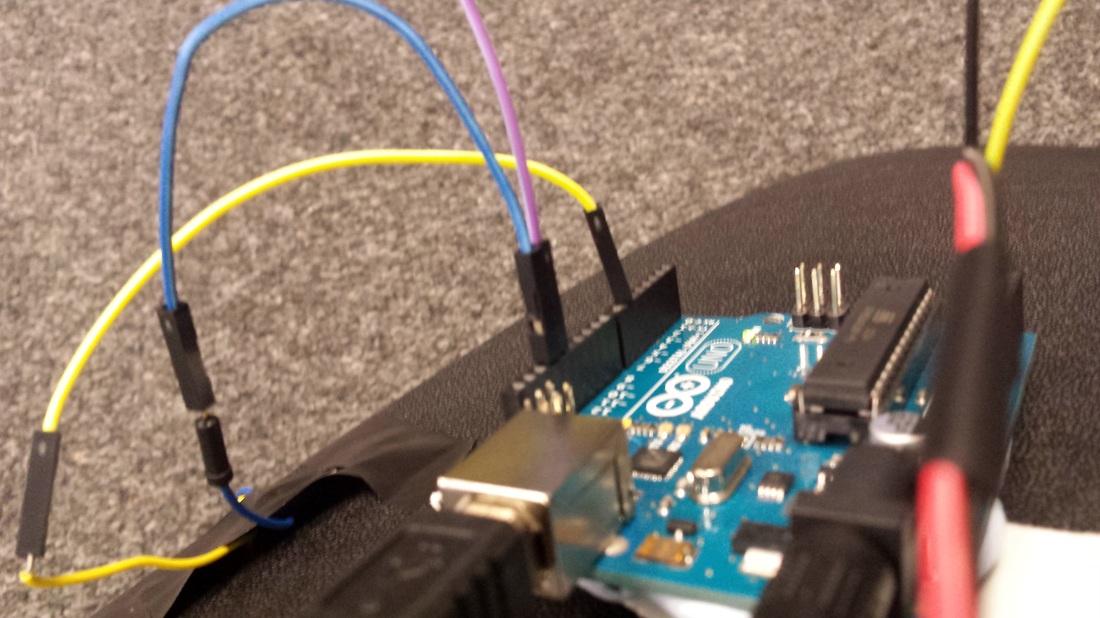
Next came the ardunio and relay along with wiring them back up , thanks to all the wiring diagrams this was straight forward and pain free after the ardunio fell off a few times it was wired and working.
these images are quite large so iv put them into a gallery just click to see
these images are quite large so iv put them into a gallery just click to see
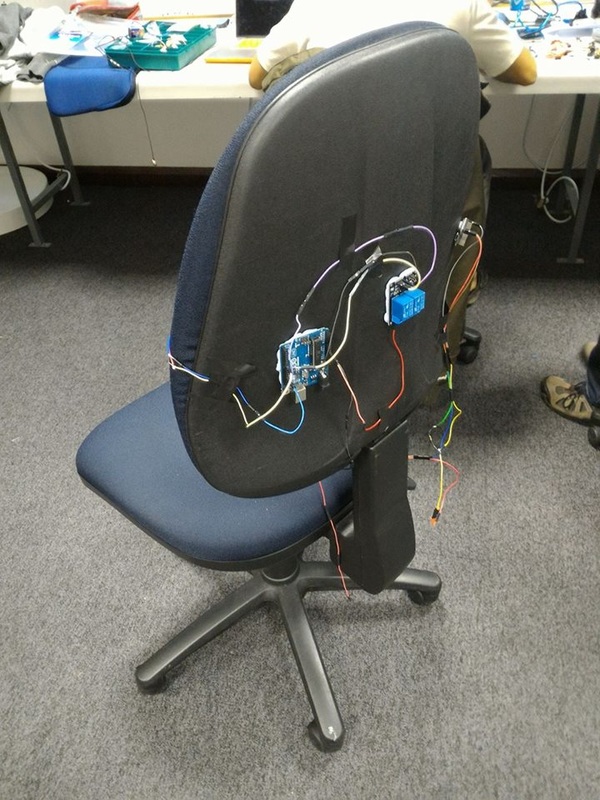
Next was the raspberry pi and the speaker, again the pi is easy to put on its only a 3.5m jack speaker to plug in and 2 USB cables one for ardunio serial and the other for power.

meet the E Couch , its built and ready to be tested and sort out any bugs that will appear in my next post i will upload the test video we took.
 RSS Feed
